Have you ever wondered what it would be like to achieve great things despite a disability? The new movie “Srikanth” tells the true story of Srikanth Bolla, a blind entrepreneur who overcame incredible obstacles to build a successful company. Rajkummar Rao delivers a powerful performance as Srikanth, taking viewers on a journey of perseverance, determination, and the challenges of success.
Many have seen apples falling from trees but the Law of Gravity occurred to Newton only! As a matter of fact, to visualize the Law of Gravity in a falling apple, one needs to utilize his brain, not eyes.
Presenting Rajkummar Rao in the titular role of Srikanth Bolla: Track “Papa Kehte Hain 2.0” Featuring Jyothika, Alaya Furniturewala, and Sharad Kelkar!
A blind young genius whose vision changed his destiny from a simple villager to a flourishing entrepreneur, the founder of Bollant Industries! Get ready to witness the life story, struggles, and sacrifices of a visually impaired guy in his journey to achieve his pillars of success. Produced by Bhushan Kumar and directed by Tushar Hiranandani, Bollywood brings you award-winning actor Rajkummar Rao in the titular role of Srikanth a.k.a industrialist Srikanth Bolla in an emotional and family-friendly biopic of this visually impaired genius.
Srikanth (2024) Official Trailer:
The Good:
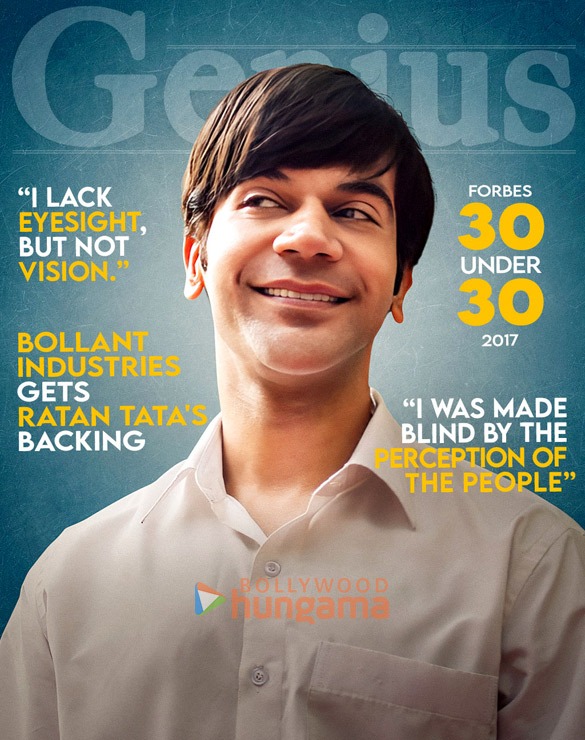
A genius turned entrepreneur: Casting Rajkummar Rao in the titular role of Srikanth Bolla
The narrative of Srikanth is impressive. This is an extraordinary biopic where when the titular character gets emotional, you will see the magic of tears rolling down from the eyes of the audience. Rajkummar Rao in the eponymous role has given a stupendous performance. The film completely rests on his shoulders and after seeing his acting, I must say that there couldn’t have been any other actor fit for this role. Besides, Alaya Furniturewala as Srikanth’s wife, Jyothika as his mentor, Jameel Khan as former Indian President Dr. A.P.J. Abdul Kalam, and Sharad Kelkar as investor Ravi Mantra have lent massive support throughout.
Bollywood spices up any movie it makes in its unique style. As such, the dialogues in Srikanth have been cooked to match up to the taste of Hindi cinema! “Main Bhaag Nahi Sakta, Sirf Lad Sakta Hun” meaning, “I can’t run, but can only fight”. Just feel the booming impact of this simple dialogue!
Rajkummar Rao and Alaya Furniturewala in the beautiful romantic track “Tumhe Hi Apna Maana Hai” (I Consider You Only Mine) from Srikanth

Rajkummar Rao with Jyothika who plays Srikanth’s mentor
Srikanth is a truly inspiring story with a beautifully written emotional screenplay. When one loses his ability to see, he gains the superpower to visualize the world! Srikanth glorifies that by depicting the perseverance and achievements of industrialist Srikanth Bolla. The brilliant guy, despite scoring an astounding 98% in his 12th grade, was denied admission to India’s hyped technology institution, The Indian Institute of Technology (IIT). He even had to file a court case as he was denied admission to study science as a subject owing to his blindness. However, he overcame every obstacle and became the first international visually impaired student to obtain a scholarship at the Massachusetts Institute of Technology (MIT).
Recyclable Waste: The Foundation of a Remarkable Success Story!

Alaya Furniturewala plays Srikanth’s wife, Veera Swathi
The story of Srikanth does raise awareness among every disabled person. It doesn’t matter if destiny has physically suppressed you. Each one of us has the superpower to touch the sky, and that superpower is our determination.
Srikanth Bolla’s Bollant Industries, founded in 2012, is a groundbreaking achievement that exemplifies the capabilities of the differently-abled. This one-of-a-kind company provides employment to unskilled and disabled people to create eco-friendly products. By doing so, it shows that even if a person is physically disabled, he or she has the potential and talent to be on par with normal people.
The visuals in Srikanth are pleasant and captivating. What took the show away is the remixed version of the 90s era evergreen inspirational song “Papa Kehte Hain”, remastered as “Papa Kehte Hain 2.0”.
The Bad:

The visually impaired genius entrepreneur character of Srikanth Bolla might have won your hearts after going through his impressive endeavors. But wait! During the second half of the movie, our hero turns into a villain! Upon reaching the height of his career, he gains arrogance. He starts misbehaving with people and even misbehaves with those like investor Ravi Mantra (Sharad Kelkar). With his help, he achieves success and glory.
After seeing his arrogance and bad behavior in the second half, you will lose sympathy for his character. You may even start wondering, “What an impudent person!” Does he really deserve a biopic in his honor?” I bet Srikanth might have forgotten Spiderman’s popular quote, “With great powers comes great responsibility”. Truly disappointing, but that’s how the real-life Srikanth Bolla happens to be and the makers have shown exactly that in his biopic. Might be the sudden fame and wealth got a bit too much of him.
The Verdict:
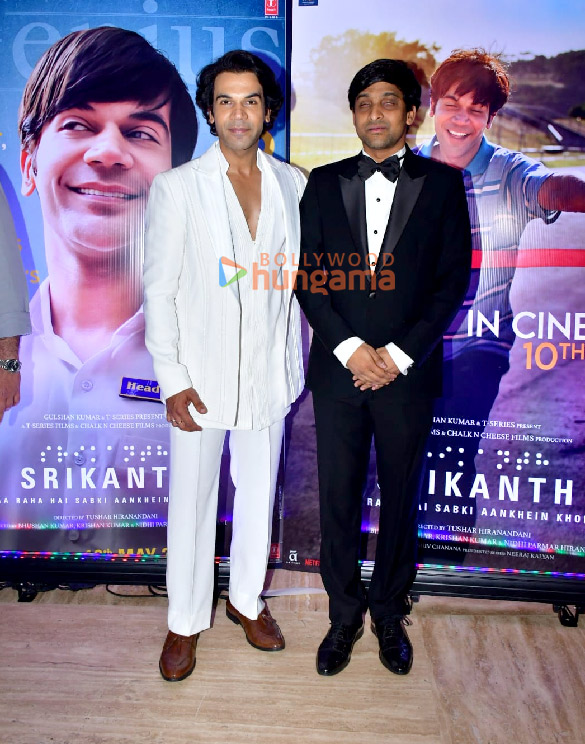
Rajkummar Rao (Left) with industrialist Srikanth Bolla (Right) at the trailer launch event of his biopic “Srikanth”
Overall, Srikanth is an engaging movie. The only complaint I have is that it ended suddenly. I guess certain scenes in the end got jumbled up to shorten the duration of the film while editing and that’s the reason the climax happened abruptly.
By the way, this is no tragedy biopic like most biopics that I have reviewed so far. Srikanth Bolla is a 32-year-old young Indian entrepreneur who despite being blind is very much alive and affluent. He told Dr. A.P.J. Abdul Kalam that he dreams of becoming India’s first visually impaired President. Let’s wait and see if his dream comes true because this enterprising young man has miles to achieve in the years to come. He may be blind but he will surely act as an eye-opener for all!

-
Acting - 9.5/10
9.5/10
-
Cinematography/Visual Effects - 9/10
9/10
-
Plot/Screenplay - 8.5/10
8.5/10
-
Setting/Theme - 9/10
9/10
-
Watchability - 9/10
9/10
-
Rewatchability - 8.5/10
8.5/10