Time for some comical horror! A third installment to the Bhool Bhulaiyaa film franchise arrived in theaters on November 1, 2024. Bollywood sensation Kartik Aaryan reprises his character of the infamous Rooh Baba, a self-proclaimed ghostbuster who is actually a fraudster. Written by Aakash Kaushik, produced by Bhushan Kumar, and directed by Anees Bazmee, this horror-comedy film titled “Bhool Bhulaiyaa 3” casts Triptii Dimri opposite Kartik Aaryan and two veteran actresses of Bollywood, Vidya Balan and Madhuri Dixit as the ghost sisters Manjulika and Anjulika respectively.
Presenting Kartik Aaryan As The Infamous “Rooh Baba” Once Again! The Title Track “Hare Ram Hare Ram Hare Krishna Hare Ram” From Bhool Bhulaiyaa 3
Bhool Bhulaiyaa 3 (2024) Synopsis:
News has struck the town of Rakht Ghaat. Rooh Baba is the reincarnation of the Prince of Rakht Ghaat, Debendranath (also played by Kartik Aaryan). The ghost of Debendranath’s elder sister, Manjulika haunts the King’s palace. The King (Vijay Raaz) and his family members are forced to live in their cow shed.
As Rooh Baba is brought to the town by the Princess (Triptii Dimri), unexpected comical yet horrifying incidents occur as the ghost of Manjulika is set free from her bondage. What will happen when Rooh Baba confronts the vengeful spirit?
Kartik Aaryan With Triptii Dimri In the Romantic Track “Beiraada”
Encounter The Haunting In Bhool Bhulaiyaa 3 (2024) Official Trailer:
The Good:
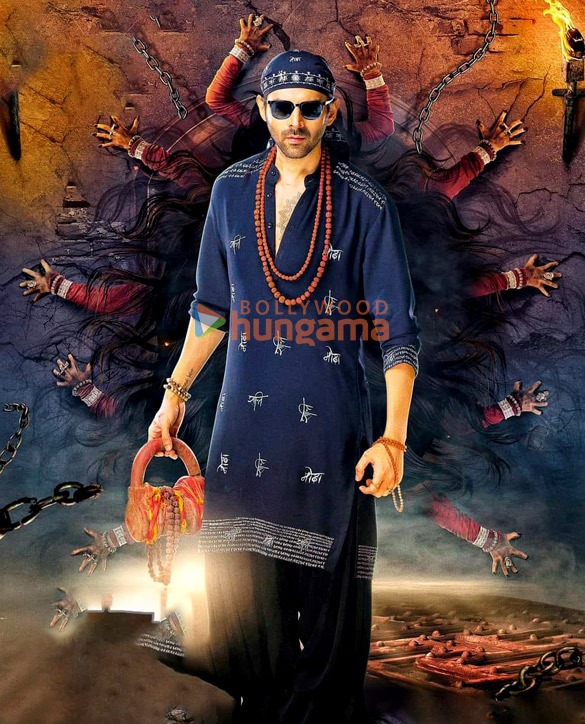
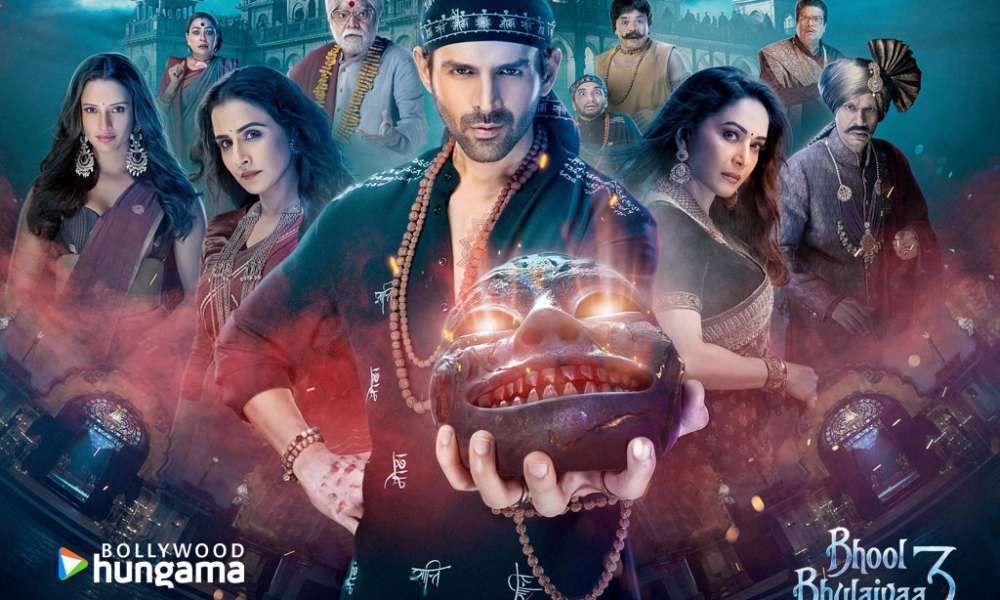
Horror Returns With “Bhool Bhulaiyaa 3”: Presenting Kartik Aaryan as the one and only Rooh Baba!
This time Anees Bazmee is in to treat cinephiles with an awestrucking horror-comedy! Bhool Bhulaiyaa 3 is the spiritual sequel to the horror-comedy Bhool Bhulaiyaa 2 which relies solely on its creative execution and Kartik’s Aaryan’s stellar performance. Kartik’s hilarious yet witty punches throughout the movie coupled with his catchy expressions are what kept its screenplay alive.
Besides, as the name of this horror-comedy franchise signifies Bhool Bhulaiyaa, which means labyrinth, the story itself is like a labyrinth with unexpected twists in every moment that will not allow you to get out of it until the climax. In fact, this film has considerable amounts of horror, suspense, thrill, and comedy blended together for an ultimate cinematic experience.
The Bhool Bhulaiyaa horror-comedy franchise has three main characters; the protagonist (played by Akshay Kumar in the original and followed up by Kartik Aaryan), the lead ghost Manjulika, and her ghost sister Anjulika. In the original 2007 film, Akshay Kumar played a psychiatrist who saved Vidya Balan from her split-personality disorder where she acquired the personality of Manjulika. In this third sequel, Kartik Aaryan plays a self-proclaimed yet fake ghostbuster who deals with two ghost sisters Manjulika and Anjulika (played by Vidya Balan and Madhuri Dixit respectively).
So, as you can see, it’s always the protagonist against the ghosts Manjulika and Anjulika in creatively varying and organized stories each time. Mind that, all the films are set in entirely different scenarios and their plot concepts have no resemblance. Neither are the sequels a continuation of their prequels. Only the main characters in all the films remain the same.
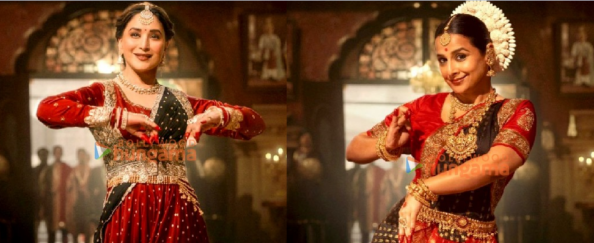
Presenting Madhuri Dixit (Left) as Anjulika and Vidya Balan (Right) as Manjulika, the two ghost sisters in their past life
The Bouncy Track “Hukkush Phukkush” From Bhool Bhulaiyaa 3 Signifying The Magical Phrase “Hocus-Pocus”
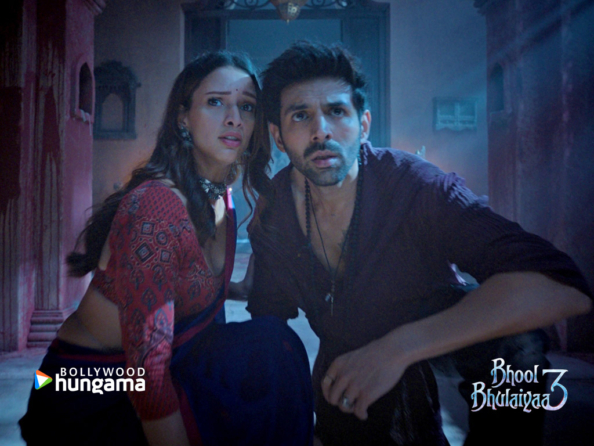
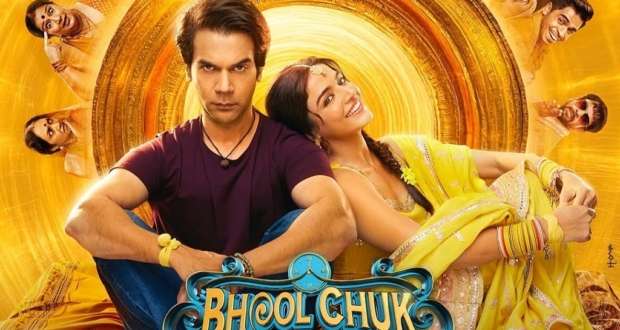
Kartik Aaryan with co-star Triptii Dimri in a still from Bhool Bhulaiyaa 3
The plot and the screenplay of Bhool Bhulaiyaa 3 surpass those of its prequels in terms of horror, comedy, suspense, and thrill. It will run shivers down your spine when you come across the vengeful ghost of Manjulika wearing a horrific-looking mask. Karthik’s witty and circumstantial humor throughout the movie will entertain you and make you roar with laughter. The suspense and thrill created by unexpected twists and the movie’s unpredictable storyline will keep you glued to your seats. The unpredictable incidents make the story take a complete 360-degree turn leading to an unanticipated climax. In short, Bhool Bhulaiyaa 3 is a complete value-for-money entertainer.

The supporting cast includes Triptii Dimri as Rooh Baba’s love interest, Vijay Raaz as the King of Rakth Ghaat, Sanjay Mishra and Rajpal Yadav as two comical priests, and Ashwini Kalsekar as Sanjay Mishra’s on-screen wife. The performance of every actor and actress was top-class. Especially, Vidya Balan and Madhuri Dixit gave stupendous performances. The mystery behind their characters and their expressions will thrill and chill you!
The cinematography is set in West Bengal, a state in India that is considered a popular hub spot for black magic. The sets comprised a palace which was decorated with the essence of royalty. The VFX and visuals of ghostly encounters were brilliant. The editing of the movie ensured a continuous flow that maintained the screenplay’s understandability.
Kartik Aaryan and Triptii Dimri In Another Romantic Track “Jaana Samjho Naa”
The Bad:
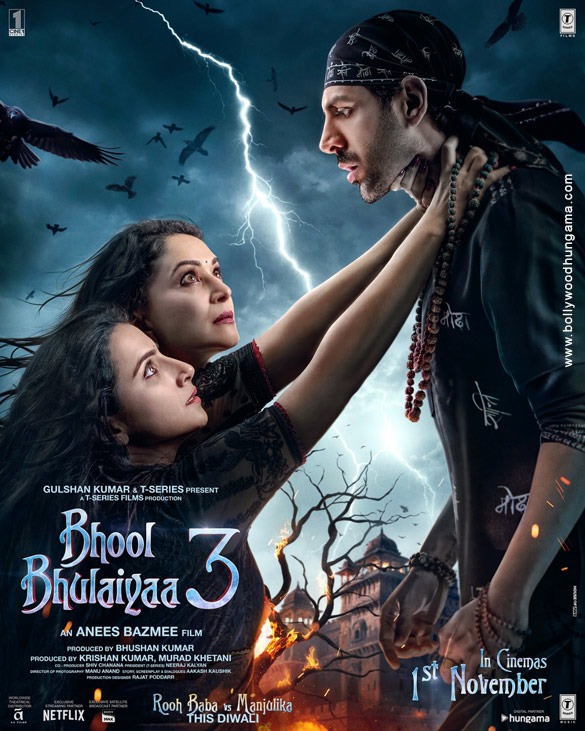
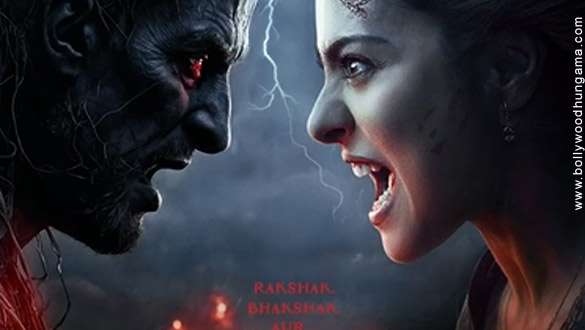
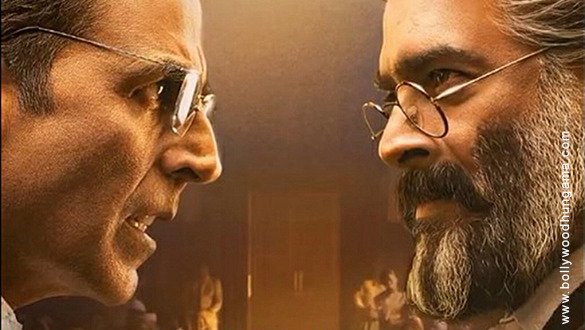
Experience the confrontation: Rooh Baba vs. Manjulika only in Bhool Bhulaiyaa 3!
I believe Kartik Aaryan’s subsequent role in Bhool Bhulaiyaa 3 as the homosexual Prince Debendranath spoiled his masculine image. I was indeed shocked to see Kartik as a homosexual and girly prince which is entirely opposed to his dashing and cocky image. He just doesn’t suit that role.
The flow of the screenplay was going just right with Kartik Aaryan and Triptii Dimri appearing to be the “perfect romantic couple”. All of a sudden, it was revealed that Prince Debendranath, who was supposedly Rooh Baba’s past life, was homosexual and was killed by his emperor father on account of his homosexuality.
Debendranath’s homosexuality ruined the emperor’s dreams of having his son succeed on his throne. As the king found his only son dancing in the hall dressed in a female dancer’s attire, he was so enraged that he slapped him hard and burnt him alive. That scene was indeed devastating. The fact is that Debendranath’s two elder sisters, Anjulika and Manjulika, had betrayed him as they were eyeing the emperor’s throne that was meant for him. They had complained about his homosexuality to the emperor. From this, you may get a hint that this story is of rebirth and revenge. You have to watch the entire movie to know what’s coming next.

I was also disappointed with the title track of Bhool Bhulaiyaa 3. Its dance moves and visuals are more or less similar to the prequel’s title track. In fact, it’s the title tracks that define the Bhool Bhulaiyaa franchise of horror comedies. The makers could have come up with something more innovative this time that would have enhanced the hype of the track as well as the film. Just having rapper Pitbull voice the track alongside singer Neeraj Shridhar with Kartik Aaryan in the same attire as in the Bhool Bhulaiyaa 2 title track and with the same dance moves is not enough.
Presenting Vidya Balan and Madhuri Dixit as the sisters Manjulika and Anjulika respectively in the remastered track “Ami Je Tomaar 3.0” in Bhool Bhulaiyaa 3
The Verdict:

Besides being a stellar entertainer, Bhool Bhulaiyaa 3 is an eye-opener as well. It relates to the malpractices performed by some fake and fraudulent priests in India who take advantage of the blind faiths of the uneducated and ignorant sections of Indian society, just like the cunning character of Rooh Baba.
Moreover, my state of West Bengal is highly prejudiced to be a black magic capital in India. This annoys me even more. The makers of Bhool Bhulaiyaa are somewhat obsessed with West Bengal being a place of ghosts and black magic. They depict such incidents related to the Indian state in every movie they make.
However, if you leave the analysis behind, Bhool Bhulaiyaa 3 will amuse, captivate, thrill, and petrify you at the same time. Even if it spoils Kartik Aaryan’s masculinity at the climax, it’s still worth watching at your nearest theaters.
Entertainment Is Guaranteed When Horror Blends With Comedy!
Experience Horror, Comedy, and Thrill As Rooh Baba Takes On The Vengeful Spirit Of Manjulika!

-
Acting - 9.5/10
9.5/10
-
Cinematography/Visual Effects - 9.5/10
9.5/10
-
Plot/Screenplay - 9/10
9/10
-
Setting/Theme - 9.5/10
9.5/10
-
Watchability - 9.5/10
9.5/10
-
Rewatchability - 7/10
7/10